This blog post article is part of a series of articles on assessment of the low back and pelvis. Scroll to the end of this article to see the others in this series.
Muscle and Bone Palpation
Perhaps no assessment procedure is more important to the manual therapist and integral to myo-fascio-skeletal assessment than muscle palpation (myofascial palpation). Palpation involves the physical assessment of the client’s bony and soft tissues through touch, usually with the pads of the fingers.
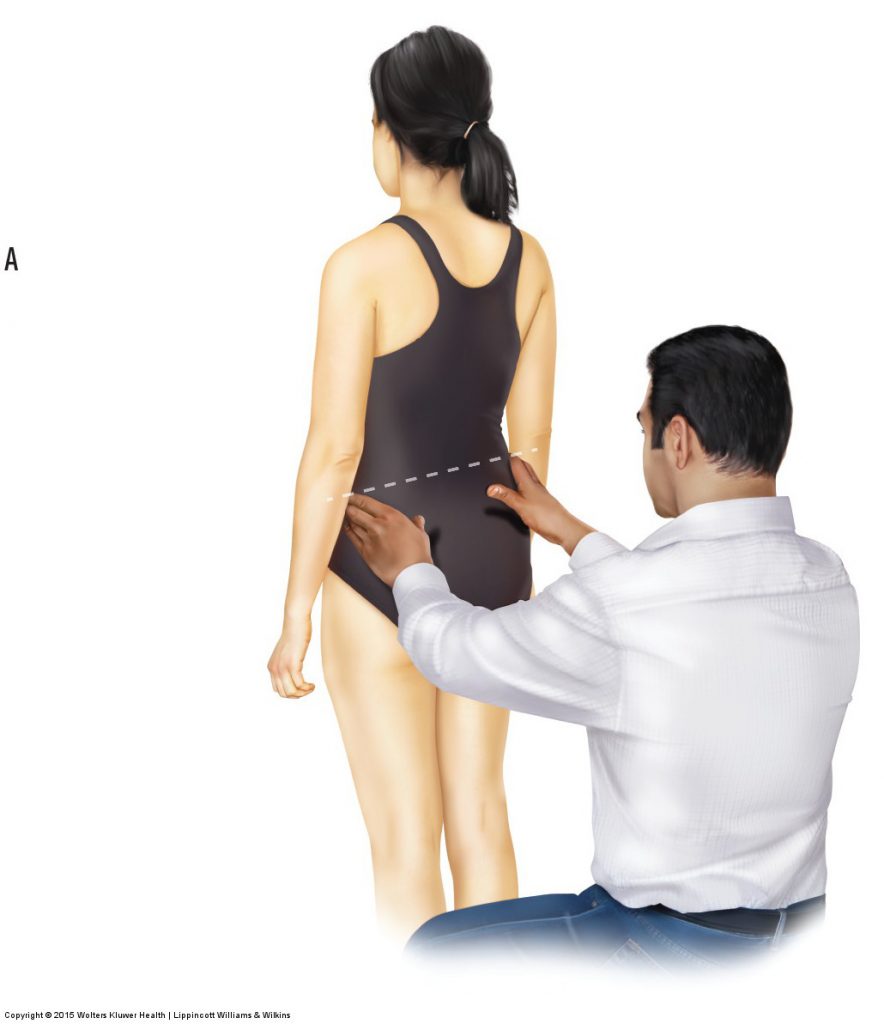
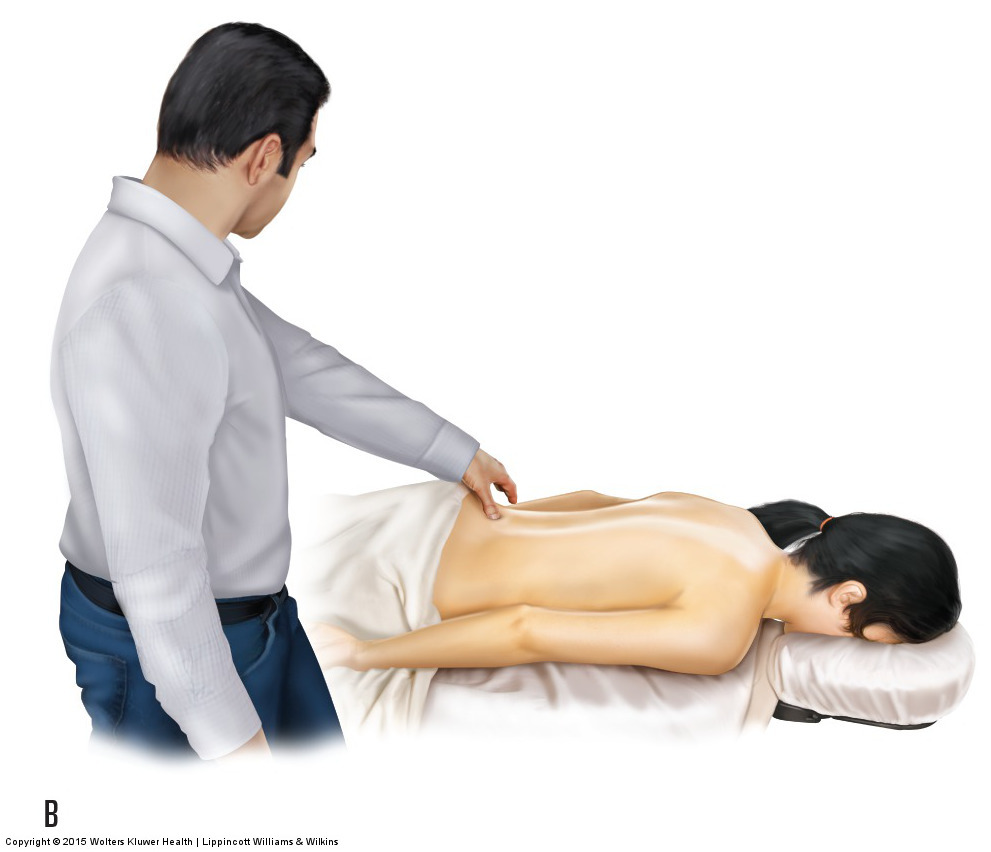
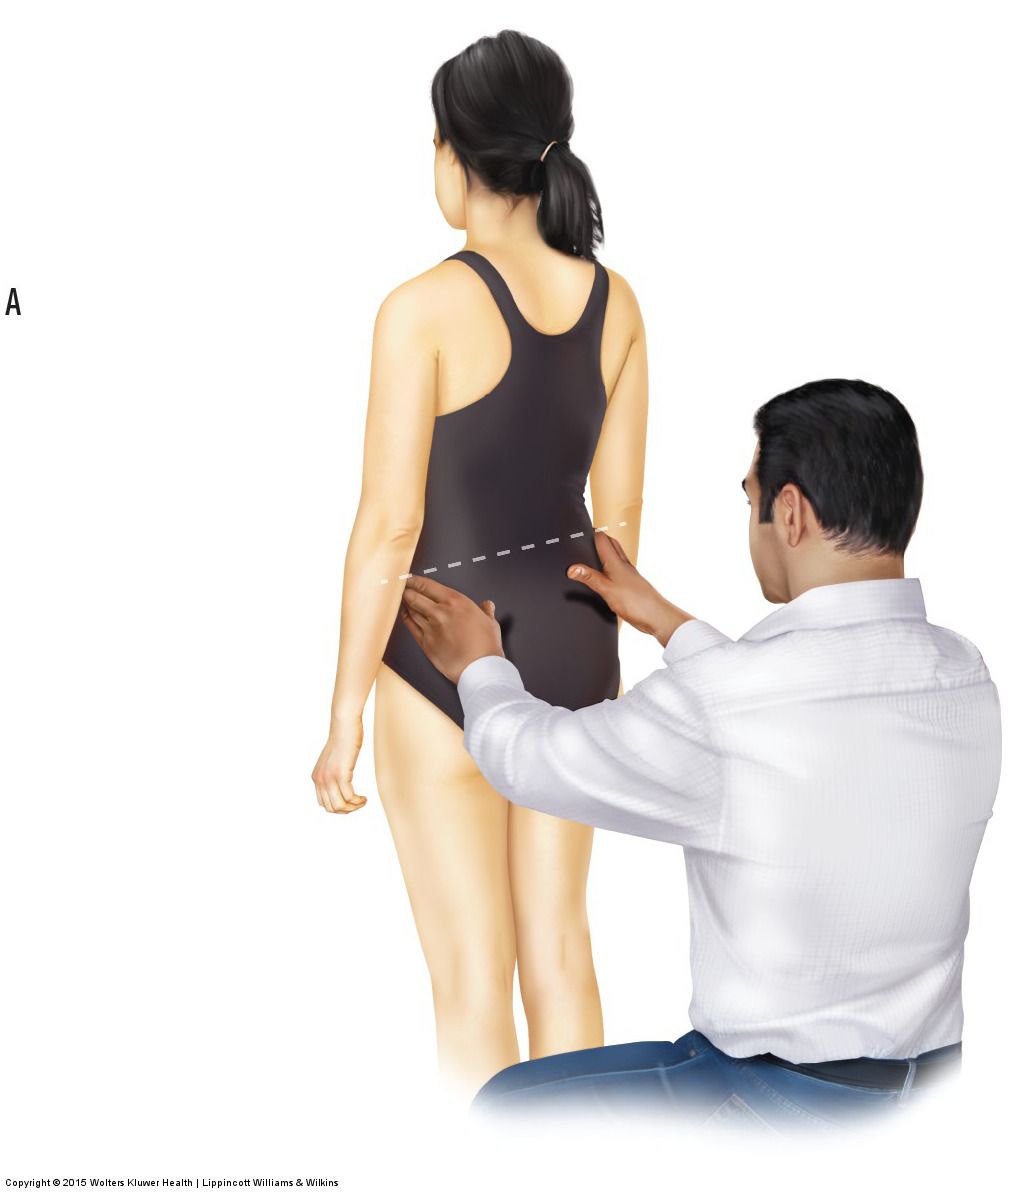
Figure 4. Standing palpation of the iliac crests. (A) The iliac crest on the right side is higher than the iliac crest on the left side, indicating an asymmetry of the pelvis in the frontal plane. (B) Palpation of the lumbar spinous processes. Manual Therapy for the Low Back and Pelvis – A Clinical Orthopedic Approach (2015)
Bone Palpation
Palpation of bony landmarks can be important for determining the underlying skeletal structure that could otherwise be seen only on radiographic imaging (x-ray). In the low back/pelvis region, it is important to feel for the iliac crests, anterior superior iliac spines (ASISs), and posterior superior iliac spines (PSISs) to assess the posture of the client’s pelvis (Fig. 4A). It is also important to palpate the spinous processes of the lumbar spine to assess the degree of the client’s lordosis (Fig. 4B). Through chronic postures and physical traumas, the normal lordotic curve may be increased, decreased, or even, at times, reversed. Because a lordotic curve is concave posteriorly, it can be challenging to palpate all five lumbar spinous processes. If all the spinous processes of the lumbar spine can be easily felt, this indicates a decreased lumbar curve.
Myofascial Palpation
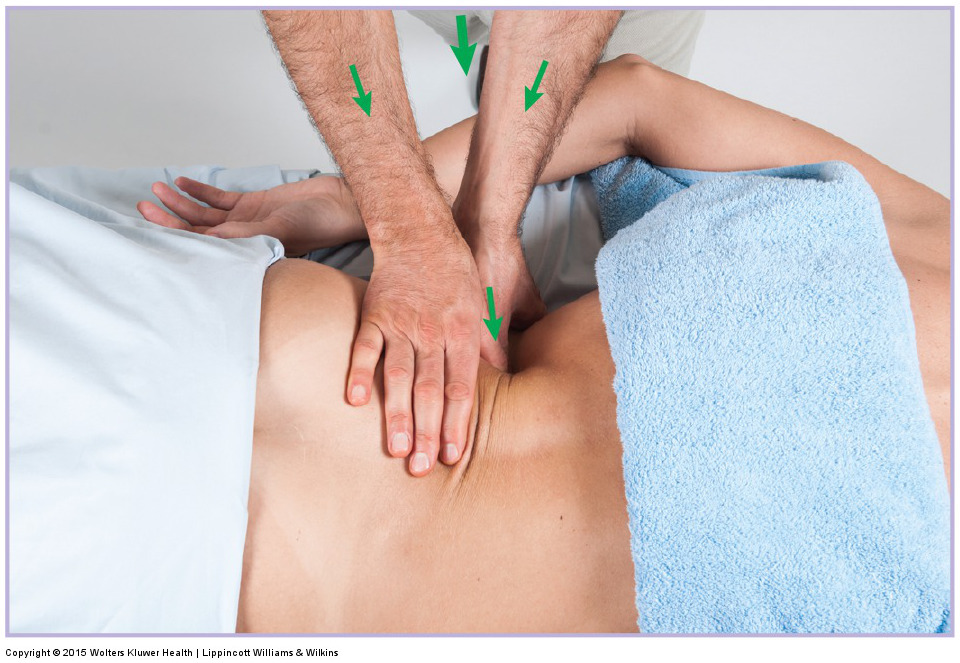
Quadratus lumborum palpation. Permission Joseph E. Muscolino DC. Manual Therapy for the Low Back and Pelvis – A Clinical Orthopedic Approach (2015)
After assessing the bony posture of the lumbar spine and pelvis, myofascial soft tissue palpation can be performed. Once a soft tissue has been located, the quality of the tissue is assessed. If the tissue being assessed is a muscle, the qualities to look for are whether it is hard or soft. Tight (overly contracted) muscles feel hard; loose, relaxed muscles are soft. If the muscle is hard, is the entire muscle hard? Or are there perhaps small knots of tightness or taut bands within the muscle? Small knots may be myofascial trigger points, whereas taut bands are usually a result of bundles of muscle fibers that are either overly contracted and bunched up or overly stretched and pulled taut. Taut bands are usually strummable, similar to twanging a guitar string.
Whether muscle tissue, other soft tissues, or bone is being assessed, palpation can provide a great deal of useful information. Palpating for swelling and increased temperature may reveal tissue inflammation; palpating for thickness and increased density within a soft tissue may reveal the buildup of fibrous adhesions within the tissues.
(Click here for a blog post article on palpation of the neck.)
Joint Motion Palpation

Lumbar spine motion palpation. Permission Joseph E. Muscolino. Manual Therapy for the Low Back and Pelvis – A Clinical Orthopedic Approach (2015)
It is also important to palpate the end-feel of a joint’s ROM. The end-feel of the low back’s joint motion occurs at the end of passive ROM and should have a small, healthy bounce or spring to it. An end-feel that is hard and unyielding, as if a concrete wall has been reached, usually indicates DJD (arthritic) bone spurs, or perhaps markedly spasmed muscles or adhesions in the soft tissues.
The health history and ROM examination, which are usually done before palpation, often give the therapist some advance guidance about where to focus attention when palpating. Palpation often serves to confirm or eliminate the clinical impression that the therapist began to form during the earlier phases of the assessment procedures.
This blog post article is the 6th in a series of 18 blog posts on the subject of assessment of the low back and pelvis.
The blog post articles in this series are:
- Introduction to Assessment of the Low Back and Pelvis
- Health History
- Introduction to Physical Assessment Examination of the Low Back and Pelvis
- Postural Assessment of the Low Back and Pelvis
- Range of Motion and Manual Resistance Assessment of the Low Back and Pelvis
- Muscle and Bone Palpation of the Low Back and Pelvis
- Joint Motion Palpation Assessment
- Overview of Special Orthopedic Assessment Tests of the Low Back and Pelvis
- Straight Leg Raise Tests for Space-Occupying Lesions
- Cough Test and Valsalva Maneuver
- Slump Test
- Piriformis Stretch Test
- Straight Leg Raise and Manual Resistance Tests for Strains and Sprains
- Nachlas and Yeoman’s Tests
- Sacroiliac Joint Medley of Tests
- Treatment Strategy for the Low Back and Pelvis
- Self-Care Advice for the Client with a Low Back / Sacro-Iliac Joint Condition
- Brief Review of Assessment and Treatment of Conditions of the Low Back and Pelvis